
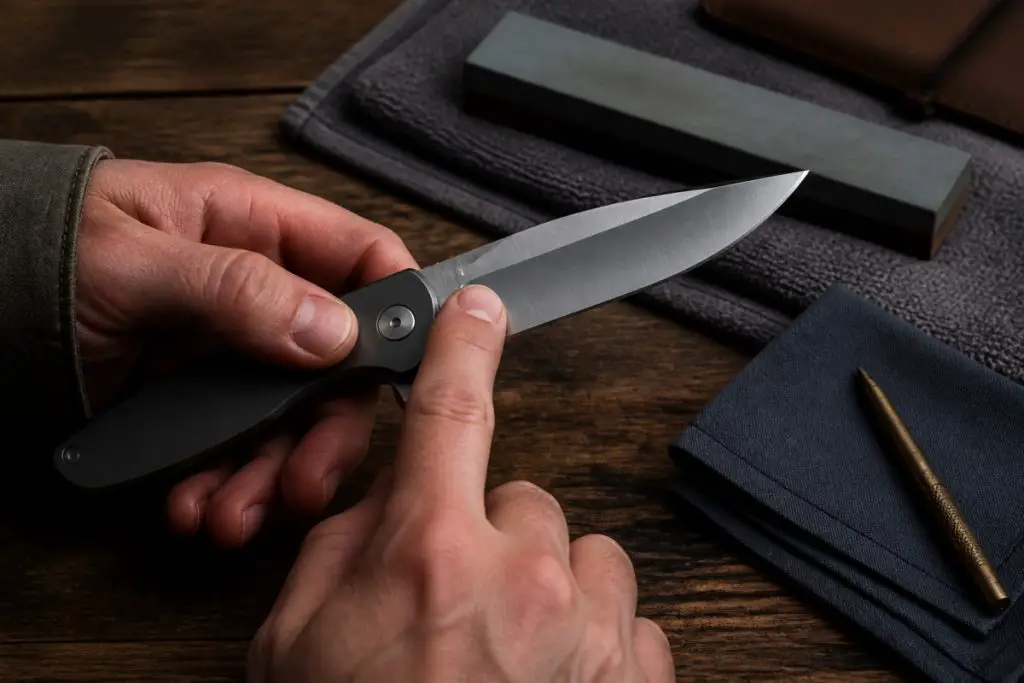

How to Detect and Remove a Sharpening Burr
The quick answer
The quickest, safest way to know whether your edge has formed a burr is to use three simple tests: a gentle thumbnail sweep across the edge (perpendicular), a thin paper or card test, and visual inspection with strong light or a loupe. When you can consistently feel a continuous burr along the whole bevel and the paper test slices cleanly without tearing, you can move from coarse stones to medium, then fine for refinement. If a burr hangs like a wire-edge, use light crossing passes on the opposite bevel and finish with controlled stropping until the burr disappears.
Context
Daily carry (EDC) users know that a sharp knife feels different than a knife that only looks sharp. The physical evidence of having cut a bevel is a burr — a thin curl or hook of metal that forms as you abrade steel toward the apex. Detecting a burr correctly ensures you don’t stop sharpening too early (false sharpness) or overwork the edge. This guide assumes common folding EDC blades, typical pocket steels, and hand sharpening with stones or whetstones. The approaches shown here are safe for hobbyists and everyday users; they emphasize minimizing finger contact with the true edge.
Specs
What you need to detect and manage a burr.
- Tools for detection:
- Magnifier/loupe (10x recommended) or a smartphone macro camera
- Bright directional light (task lamp or sunlight)
- Thin printer paper or a business card for the paper test
- Rubber or leather strop (optional but recommended)
- Abrasives used in this guide:
- Coarse stones: 220–400 grit (used to reprofile or repair chips)
- Medium stones: 800–2000 grit (edge forming and refining)
- Fine stones: 4000–12000 grit (polishing, removing micro-burrs)
- Safety: cut-resistant gloves for beginners, eye protection if grinding, and a stable sharpening platform.
- Target audience: daily EDC gear enthusiasts worldwide — suitable for single-bevel and double-bevel folding knives.
Deep-dive analysis
Why a burr forms and why it matters
When you abrade metal to create a bevel, material from the high side of the bevel is displaced toward the edge. At the apex, some of this material momentarily inverts or rolls over, forming a burr. The presence of a continuous burr indicates that you’ve reached the apex along the full length of the edge; that is your sign to stop cutting on that bevel and either switch sides or refine the edge.
Three safe burr-detection methods (step-by-step)
Below are three methods that keep your fingers out of the cutting plane and work reliably for EDC blades.
-
Thumbnail sweep (perpendicular, gentle)
Rest the spine of the blade in the bend between your thumb and forefinger on your off hand so the edge faces away from you. Very gently drag the edge across the edge of your thumbnail from spine to edge — exactly perpendicular to the cutting plane, not along the length of the edge. A burr will commonly be felt as a hook or catch on the nail. Do this with minimal pressure and be sure the motion is sideways into the nail, not toward your skin.
-
Paper/card test
Hold a thin strip of paper or a business card taut. Slide the edge across the paper at a shallow angle (like you would for a slice test). If the edge tears the paper cleanly and consistently, the bevel is cutting. A blade with a micro-burr will usually slice paper but may not perform cleanly on thin materials unless the burr is fully removed — so use this test in combination with other methods.
-
Visual inspection with light or a loupe
Place the blade under strong directional light and sight along the edge. A continuous burr often catches light differently than the rest of the bevel; it can appear as a faint line, a rolled curl, or a matte contrast at the apex. Using a 10x loupe or a smartphone macro photo allows inspection for continuity of the burr along the entire cutting edge.
How burr size changes across coarse, medium and fine stones
Different stones create different burr shapes and sizes. Understanding these changes helps you plan strokes and deburring steps. The table below summarizes typical burr characteristics and recommended next steps.
| Stone Grit | Typical Burr Shape | How It Feels | Recommended Next Step |
|---|---|---|---|
| Coarse (220–400) | Large, thick curl; often visible at 1–2 mm beyond apex | Easy to feel with thumbnail; may hook noticeably | Switch to opposite bevel and remove bulk metal, then move to medium grit |
| Medium (800–2000) | Smaller burr, thin and intermittent; often shorter length | Noticeable but finer; may not be visible without loupe | Alternate laps across bevels to thin burr; finish on medium/fine to refine |
| Fine (4000–12000) | Micro-burr or none; if present it’s microscopic and often only detectable with magnification | Paper slices clean; thumbnail may only feel slight drag | Strop to remove micro-burr and polish; test on paper and hair (optional) for final confirmation |
Macro “diagrams” — edge cross-section simplified
Below are simplified cross-section sketches using characters to show the basic difference in burr geometry. These are conceptual and scale is exaggerated for clarity.
Coarse bevel with big burr:
/¯¯¯¯\__burr__
Medium bevel with thin burr:
/¯¯\_b
Fine bevel with micro-burr or none:
/¯\_
Why “false sharpness” happens
False sharpness is when an edge feels initially sharp—often because a small wire edge or burr bites skin or paper—but it dulls quickly when cutting real materials. This typically happens when the burr hasn’t been fully removed, or when the primary bevel hasn’t been formed uniformly along the entire edge. Detecting the continuity of the burr and removing it properly cures false sharpness.
Utility
Deburring decision tree
Use this simple decision tree to decide what to do once you’ve detected a burr.
- Do you feel a continuous burr along the full edge with the thumbnail or see it under magnification?
- Yes → Switch to the opposite bevel and make equal or slightly fewer strokes to remove the burr. Then test again.
- No → Continue controlled passes on the original bevel until a continuous burr forms; then switch sides.
- After switching sides, does the burr disappear?
- Yes → Progress to a finer grit and repeat.
- No → If a large burr persists, repeat with a few heavier passes on the opposite bevel (preferably on a medium grit) then re-check.
- At fine grit, you detect micro-burr or false sharpness?
- Micro-burr present → Strop lightly on leather (1–10 passes) to remove. Re-test.
- False sharpness but no burr → Re-check bevel geometry and look for incomplete apex formation; consider a few controlled polishing passes to even the bevel.
Troubleshooting common edge problems
-
Wire edge (rolled or hooked metal):
Symptoms: edge bites on skin/paper but tears easily, dulls in one stroke.
Fix: Lightly strop the edge on leather with a polishing compound while applying lateral pressure to unroll the wire. If the wire is thick, remove it with a few light controlled passes on the opposite bevel at the same grit used to form it, then refine.
-
Stubborn burr that won’t disappear:
Symptoms: tactile or visual remnants after multiple opposite-side passes.
Fix: Ensure strokes on the opposite bevel are full-length, consistent angle passes. Increase pressure slightly for a couple of passes on a medium stone to collapse the burr, then alternate strokes more frequently (1–3 per side) to thin and remove it. Finish on fine grit and strop.
-
False sharpness (no reliable cut performance):
Symptoms: initial bite without sustained cutting power.
Fix: Check for incomplete apex along the blade (missed spots). Use loupe/phone camera to inspect for continuity. If there are missed spots, focus brief passes at those locations, then form a continuous burr and remove it properly.
Practical sharpening routine for EDC users (example)
- Repair chips on coarse stone (220–400) until bevel is restored; create a continuous burr.
- Switch to medium stone (1000–2000); alternate strokes until burr is thin and continuous.
- Move to fine stone (4000+) for polishing; if micro-burr remains, finish with 5–10 light passes on a leather strop.
- Test with thumbnail sweep and paper slice; confirm consistent performance on a small cutting task (rope, cardboard).
Alternatives
Not everyone sharpens on stones. Here are common alternatives and how burr detection differs with them.
- Guided sharpening systems: These create consistent bevel angles, which often form consistent burrs. You can use the same thumbnail and loupe checks, but the system’s repeatability means the burr will usually be predictable—follow the manufacturer’s recommended strokes.
- Power sharpeners/grinders: These remove material faster and often produce larger burrs. Use the same detection methods but expect to switch to a finer abrasive quickly to reduce heat and avoid over-thinning the edge.
- Honing rods/ceramic rods: These are primarily for maintenance and won’t usually create a large burr. A light thumbnail check and paper test will suffice after a few pulls to confirm the edge.
Verdict
Knowing how to detect a burr when sharpening is a fundamental skill for reliable long-term edge performance. Use the three safe tests — thumbnail sweep, paper test, and visual/magnified inspection — together rather than in isolation. Follow a consistent progression from coarse to fine stones, confirm a continuous burr before switching sides, and remove the burr fully with opposite-side passes and light stropping. For EDC users who depend on real-world cutting, these checks prevent false sharpness and ensure predictable, lasting edges.
FAQs
How many times should I use the keyword “how to detect a burr when sharpening” in my practice?
The phrase is a search keyword here; in practice, focus on building the habit: use the thumbnail, paper, and visual tests every time you change grit or notice inconsistent performance. Repetition builds reliable detection skills.
Can I rely on the hair test to detect a burr?
The hair test (cutting a single hair) can show if an edge is keen, but it is not the safest or most repeatable method for burr detection. It can give false positives with wire edges. Use it only as a final verification with care; prefer the thumbnail and loupe checks for routine burr detection.
My blade feels sharp but fails on cardboard — is that a burr issue?
Yes. That is a typical sign of false sharpness caused by a wire edge or incomplete bevel. Inspect for continuity of the burr, remove it with opposite-side passes or stropping, then re-test on cardboard and a small real-world task.
Where can I get hands-on help near me?
If you want in-person lessons or professional sharpening, search for “knife sharpening near me” or check local EDC and knife communities. Popular cities with active sharpening services include New York, London, Sydney, Tokyo, and Toronto—search locally or ask at outdoor/knife specialty shops. For global readers, local laws and service availability vary, so confirm a shop’s credentials before leaving blades with them.
Want more resources from KnifePulse?
Find our indexed posts and product listings in the site sitemaps:
https://knifepulse.com/post-type-post-sitemap-1.xml
https://knifepulse.com/post-type-product-sitemap-1.xml
Final safety reminder
Always protect your hands and work on a stable surface. If you are new to sharpening, consider wearing cut-resistant gloves and practice on inexpensive blades before moving to a favorite EDC knife. If you are unsure about heat buildup or metal removal with power tools, seek professional help.